
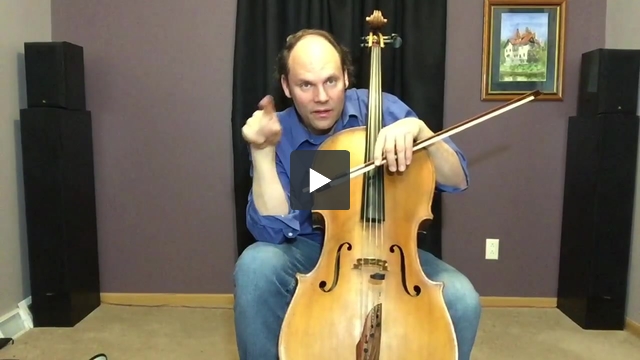
Controlled Spiccato on the Cello
By Jamie Fiste, Professor of Cello at Central Michigan University
Share This
This video and article are meant as a follow up to basic controlled spiccato
for beginning cellists. If you haven’t seen this video and article, you may want to check it out first. Here, we will be looking more in depth at the movements involved in controlled spiccato. When delving into technical details, it can be a challenge to describe the motions used in words so I strngly recommend watching the video as well to see everything demonstrated. And now, let's dive into it!
The Vertical and Horizontal
The Vertical and horizontal are the two most basic elements to a controlled spiccato (hereafter just called ‘spiccato’). We need a bounce (vertical) combined with up bows and down bows (the horizontal) to achieve a spiccato. What this article and video cover more in depth is the horizontal element.
The vertical motion (the bounce) I prefer to feel from the arm; I like some arm weight behind spiccato. For this reason, I do not teach that spiccato is initiated from the wrist. Yes, the wrist moves but it is more a passive
motion than active.
What many think of when first hearing that the bounce is initiated from the arm is a sort of chicken wing motion. This arm motion I refer to is not a raising and lowering of the whole arm; it is accomplished by a rotation in the upper arm. As cellists we often do not take advantage of the rotation available to us in the upper arm. I believe in developing a large repertoire of motions in the bow arm instead of over relying on one type of motion or set of motions. Our bow arm is capable of many different types and combination of movements that we can take advantage of.
To teach this rotation, I start with the ‘Jazz Slap’ Action Study (see video). I then proceed to show how this same upper arm rotation can be done with the bow in hand, bouncing off the string vertically.
The Horizontal Motion
This is where the technique gets more involved. There are three main elements related to the horizontal motion (the up and down bows),
- A rotation in the upper arm
- Using the whole arm
- A circle or ellipse in the bow hand
Let’s look at each of these separately.
Rotation in the Upper Arm
Not only can we use a rotation in the upper arm for the bounces, we can employ an additional rotation for the up and down bows.
To feel this rotation I like to start with the ‘Wax on, Wax off’ action study taken from the movie ‘Karate Kid’. How many of you remember this movie? See, we are becoming black belts in cello!
Start with a low elbow, bend your arm at the elbow and put your palm forward. Now wave your hand left to right, initiating the movement by rotating the upper arm.
While keeping the rotation going, gradually unbend your arm until the palm of your hand is facing the ground. Keep moving your hand left to right by rotating the upper arm. You are now ‘waxing your car’, ‘polishing the counter’ or ‘cleaning the kitchen’!
One thing you may notice when doing the various waxing and polishing motions is that the upper arm moves in the opposite direction from the movement of the hand. This is an important counter motion to be aware of.
Polishing with a Bounce
To get the feel of doing up bows and down bows by rotating the upper arm, I like to practice successive down bows and up bows with retakes. When teaching these motions, I usually start with the down bows as students tend to pick up on this more quickly.
With both the up bows and down bows, keep the motion initiated by the upper arm rotation. Be aware of the counter motion in the upper arm that goes in the opposite direction from the hand. Also remember to keep the right elbow low.
After practicing the ups and downs separately, it’s a good idea to alternate between four downs followed by four ups, and so on.
Alternating between the Bounce and Polishing
As an intermediate step to combining the bounce with the ‘polishing’, I often have the student alternate between the vertical ‘Jazz Slap’ (bow in the hand) with the retaking ups and downs. It goes something like this,
- Four retaking down bows with upper arm rotation
- Followed by four vertical bounces with upper arm rotation (keep the bounces close to the string)
- Followed by four retaking up bows with upper arm rotation
- Followed by four vertical bounces with upper arm rotation (keep the bounces close to the string)
- Rinse and repeat
Combining the Motions
Next, try combining the vertical and horizontal elements for a controlled spiccato. Putting this together is, of course, a different sensation than doing the motions separately. As the famous saying goes, "The whole is greater than the sum of it's parts." In the final analysis, you will have to get a sense of the interactions between the individual movements to create the spiccato.
A More Pointed Spiccato
The motion described above works best for a short or articulated spiccato (yes, spiccato has different lengths). The 'polish the counter' movement with a rotation in the upper arm isn't conducive to a longer bow stroke but it works wonderfully for a lot of 'spic' in your spiccato.
Using the Whole Arm: The Brush Stroke
How do we execute more of a 'brush stroke' in our spiccato with a little less bounce and more length to the notes? The answer is in the way we execute both the vertical and the horizontal motions.
Regarding the horizontal motions, we can add more length to our spiccato simply by substituting a whole arm movement from the shoulder in place of the upper arm rotation. This whole arm motion is more conducive to longer bow strokes.
Regarding the vertical element, the brush stroke is more like a series of airplane landings than the strict spiccato described above. Therefore, less bounce is preferable and the bow will remain closer to the string.
Your choice of when to use a strict spiccato or a brush stroke depends completely on the musical context.
Gradations Between Spiccato and Brush Strokes
Sometimes we will want a bow stroke somewhere between the brush and spiccato strokes. This, of course, depends on the context and the musical ideas you want to communicate. Thinking physically, it is possible to have any ratio of combination between a strict rotation and a whole arm movement and therefore any gradation between a strict spiccato and brush stroke.
The Circle or Ellipse
Often the motion of the bow in controlled spiccato is described as a half circle with the contact of the bow with the string at the lowest point of the arc.
I prefer to think of the motion as a circle or ellipse. The advantage of a circular or elliptical motion is that the bow and hand do not have to continually start and stop, which is inefficient. The motion is rather like an Olympic swimmer who changes directions in the pool by a circular motion.
To make this circular motion, right before the up bow, give a little "push" from the arm into the wrist. This will cause the hand and frog of the bow to to swing up, resulting in a circle or ellipse. If you have a mirror, keep an eye on the screw of the bow and watch for the ellipse. It will take practice!
So there you go! There are some tips from your friendly neighborhood cello professor!
Happy controlled spiccato!
S.D.G.
Authored by Jamie Fiste, Professor of Cello at Central Michigan University.