
Teaching Cello Vibrato
By Jamie Fiste, Professor of Cello at Central Michigan University
Share This
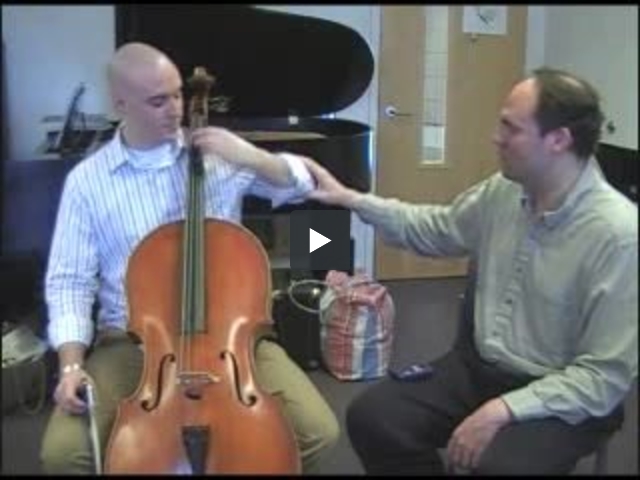
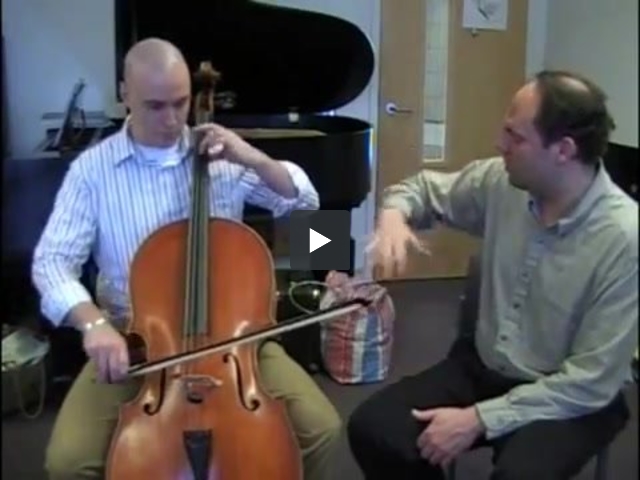
For a recent article and video, check out my new thoughts on cello vibrato.
This sequence is what I use to teach vibrato to beginning cellists and also more advanced players as a reminder;
- Robot Wave action study.Hold your left arm like a right turn signal (elbow not too high!) Wave using your entire forearm with the upper arm "swiveling" or rotating in the shoulder socket. Make it faster and more narrow. As the forearm dips down, the upper arm points up in the opposite direction, creating an almost teeter totter effect.
- After the student feels comfortable with the robot wave have the student gradually bend the elbow, keeping the same motion in the upper arm ('swiveling').
- When the student feels comfortable with the bent elbow, have the student polish the fingerboard between the two middle strings with the 2nd finger. Do not push down on a string yet. We want to keep the arm as relaxed as possible.
- Forearm Roll action study. Keep the arm working as an entire unit. Plant 2nd finger on the fingerboard. Slowly pronate and supinate entire forearm while pivoting on 2nd finger. Make sure the upper arm is swiveling in the shoulder joint. If the arm is working as a unit, the upper arm will roll in the opposite direction of the hand. Try having the student take the thumb off the back of the neck of the cello and hold it out, away from the hand. I find this helps connect the pronating motion of the forearm to the swiveling motion of the upper arm.
- When the student is comfortable with placing the finger between the middle strings and rolling the forearm with the upper arm rotating, have the student bow an open C string at the same time. This allows the student to use the bow arm while practicing vibrato without having to push down a vibrating string, which has even more upward force than a non-vibrating string. Don't be surprised if the vibrato stops working when the bow arm is used. If this happens go back and keep working on the previous steps and continue to try to add the bow arm. It will work eventually!
- When the student is comfortable with vibrating with the open C string, have the student try vibrating on an F on the D string while bowing an open C sting at the same time. Now the student can practice pushing a non-vibrating string down while bowing.
- Have the student practice "crazy vibrato" (I got this from cellist Carl Donakowski) in which you push the string down and glissandi while bowing long bows on the same string.
- When the student is comfortable with vibrating an F on the D string while bowing the open C string, have the student trying bowing the D string while vibrating the F 2nd finger. Final step! I suggest going through the steps on a regular basis as a warm up to help with muscle memory.
S.D.G.
Authored by Jamie Fiste, Professor of Cello at Central Michigan University.